If you want to make the best pies, you are going to need a recipe for an easy all-butter pie crust and a few tools, tips and tricks to help you achieve a gorgeous pie crust every time! Below you will find a recipe for how to make the easiest all butter pie dough in a food processor with everything you need to know about making pie dough. You can also make this pie crust recipe by hand, if you prefer.
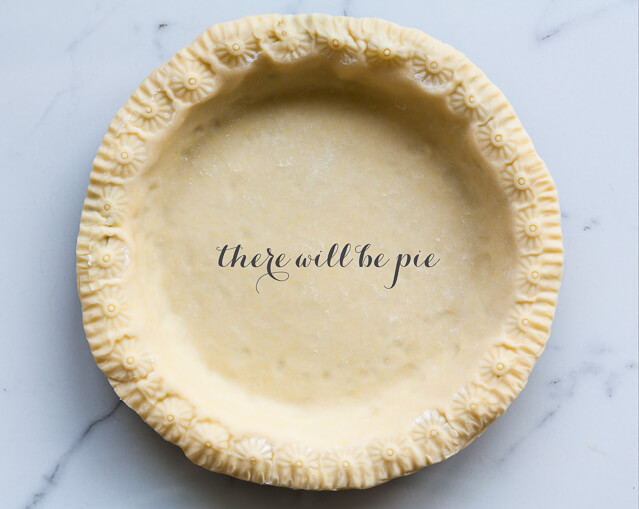
Ingredients to make pie dough
All pie doughs are made with a very short, simple list of ingredients: butter, flour, salt, and cold water. Yes, it’s that easy.
Pie dough is made from a short list of very simple ingredients that you most likely have on hand in your fridge and pantry, without taking a trip to the store. All pie doughs are made by combining flour(s), fat, salt, and water. That’s it! It’s so simple and yet so complicated! Let’s go through the ingredients first and what they do:
Flour
All-purpose flour is, as the name suggests, a good flour for most baking recipes and it works fine for pie dough and pies. I don’t see the need to invest in a different flour to make pies and quite frankly, I don’t have the space to store too many alternatives. I always use all-purpose flour for pie dough.
If you want to play with alternative flours, I suggest replacing up to 25 % by weight of the all-purpose flour with an alternative flour. These flours can add a ton of flavour and also change the texture a little. Try swapping in some whole wheat flour, or even a little rye or buckwheat. Alternative flours will add an interesting flavour to the dough.
Make sure to not add too much of these flours because buckwheat flour, for example, is gluten-free, and if you were to replace the all-purpose with buckwheat in a pie dough recipe, gram-for-gram, you will end up with a more delicate dough and crust, and also the flavour will be overwhelming.
Fat
The fat you use is a matter of personal preference or habit.
-
Solid fats like shortening, butter, or lard:
- Shortening: Growing up, my mom always used Crisco to make pie dough and it worked great! The few times I tried to work with Crisco, I found it difficult and I had trouble. Shortening doesn’t add flavour to pie dough, unless you buy butter-flavoured shortening. But then at that point, why not buy butter?
- Butter: I make my pie doughs with butter, which is about 80-84% fat, depending on the brand. Butter has some water in it, which will also add strength to your dough. Butter adds a lot of flavour to pie dough.
- Lard: lard is an animal fat and it is 100 % fat, no water. Lard makes very tender, flaky crusts, but I don’t work with it nor do I call for lard in my pie recipes for the simple reason that not everybody is comfortable with consuming lard and butter is easy to find at the grocery store.
- Vegan butter: its formulated to mimic regular butter so vegan butter can be an interesting alternative if you are avoiding dairy products. Just make sure to check the label to see if it’s salted or unsalted before using it and adjust the amount of salt accordingly, adding less if the product is salted.
- Liquid fats (like olive oil or canola oil): liquid fats are easy to incorporate into recipes but unlike butter or other solid fats, liquid fats like canola oil don’t allow you to create layers in your pie dough. No layers means your pie crust won’t be light and flaky. Pie doughs made with oil tend to be a little heavier and a little greasier. There’s nothing wrong with that, but don’t use a liquid oil and expect to get the same result as you get with a solid fat like shortening or butter.
Salt
A lot of people think adding salt to baking recipes makes no sense, especially for sweet baked goods, but the salt is actually a really important flavour component. Pie doughs, just like other baked goods, should always have salt. Don’t skip it! Otherwise, your pastry will taste a little bland. Salt makes it pop!
Water
A lot of pie dough recipes don’t give an exact measurement for the water, but instead suggest a range. But if you add too little water, the dough may crack and be too dry, or too delicate to handle. The crust will be very “short,” meaning high in fat and may be more delicate when served. If you add too much water, the dough will be wet and pasty, and you’ll have to use an excess of flour. The pie crust with too much water might end up crisp like a cracker once baked.
Some recipes encourage readers to use as little water as possible, but this relies on you making a judgement call and if you aren’t an experienced baker (or even if you are!), it can be difficult to tell just how much water is enough.
Other optional ingredients
Though most pie doughs are made exclusively with flour, salt, butter, and water, you may encounter recipes with certain variations in the ingredients list:
- Some may add vinegar (or other acids) or alcohol to their pie crusts in order to reduce gluten formation and avoid forming an elastic dough that will shrink back as you roll it out or as the pie bakes, but I have found over the years, that you can avoid using these extra ingredients if you master the technique.
- You can add a little sugar to your pie dough, which helps with browning and adds a little flavour, but sugar is optional, and as a rule, I don’t. Your pie will probably have plenty sugar in it and anyways, pies take so long to bake in the oven, getting the crust to brown isn’t a problem:
- use about 1 tablespoon of sugar for the dough for a double crust pie. That works out to roughly 10 to 15 grams of sugar for 310 grams (2.5 cups) of flour.
- Some will add an egg yolk to pie doughs, which adds richness and also helps tenderize the dough. Again, you don’t have to.
- if you add an egg yolk, you may want to cut back on the water since the yolk will provide some moisture to the dough
- You might come across recipes that incorporate cream cheese, which adds a ton of flavour and moisture, leading to a more tender crust that is easy to roll out (these cinnamon rugelach are made with a cream cheese dough)
I like to keep my pie doughs as simple as possible, so most of the time, I stick to butter, flour, salt, and water, and it works great!
Tools
To make the dough, you have options
Opinions will vary on what are the best tools to make perfect pie dough. I like to use my food processor because I’m lazy and it’s so easy. Others prefer to make it by hand. To make the dough, you will need:
- a food processor (I use this 11-cup Cuisinart food processor from Amazon) OR a pastry cutter (this Nordic Ware pastry cutter is the one I use) OR a stand mixer fitted with the paddle attachment (the Artisan stand mixer by KitchenAid works great for this) OR your hands
- a kitchen scale (I use this OXO scale) OR measuring cups
- a big bowl and a fork (if you are making the dough by hand or with a pastry cutter)
To roll out the dough, the kind of rolling pin makes all the difference
I can honestly say I have tried all the rolling pin types out there: the straight/skinny pins, the French rolling pins, and even rolling pins with handles that spin. The type of rolling pin you prefer is very personal. I absolutely HATED the one with the spinning handles (yes, capitals are necessary to describe the extent of my hatred). It just felt clumsy, flimsier, and less efficient. My experience with that rolling pin also taught me that I hate rolling pins made out of plastic or silicone. The dough sweats/sticks extra with these materials. No good. I love rolling out pastries and doughs with my mom’s French rolling pin, which she didn’t love so much, so we traded. It’s wood, and I think it’s perfect (like these).
In terms of how large a disk of rolled out pie dough you need, this depends on the type of pie, the size of the pie plate, and if you are rolling a bottom or top crust. Here are a few measurements to get you started:
- for a single crust pie baked in a 9-inch pie plate, roll dough to 12–13 inches to accommodate the depth and rim
- for a double crust pie baked in a 9-inch pie plate, roll the bottom dough to 12–13 inches to accommodate the depth and rim and roll the top dough to at least 14 inches in diameter to accommodate bulky fillings (like if you are making an apple pie
- for a tart baked in a fluted 9-inch tart pan, roll dough to 12 to 13 inches

To brush off excess flour or brush on glaze
To bake the pie, not all pie plates are created equal
Ceramic pie plates are always gorgeous but if you are a novice baker, it’s really hard to see what’s going on behind the plate. I definitely recommend clear glass pie plates so that you can monitor the crust as your pie bakes (I usually favour brands like Pyrex or Anchor).
Glass definitely takes the guess-work out of knowing when a pie is baked properly. However, nowadays, I prefer baking pies in metal pie plates because these will promote browning. Metal pie plates heat up faster and are better conductors of heat, bringing tons of heat to the bottom of the crust, to the area underneath where it’s hardest to bake properly. I often use this dark granite finish metal pie plate from Amazon.
When buying a metal pie plate, opt for aluminum, with a darker matte finish if possible. These will transfer the most heat to the bottom crust of your pies, helping them bake properly underneath.
Teflon coatings on pie plates aren’t necessary because pie crust doesn’t stick to the plate, ever. However, if the filling overflows, the Teflon coating could come in handy.
To blind-bake the pie crust

To avoid the dreaded soggy bottom and to keep your oven clean
It’s simple, you probably have one already, and, if you’ve been read some of my pie recipes, you might know what it is: a cookie sheet. Yes, that’s right, to avoid a soggy bottom you use your cookie sheet like you would a pizza stone: put it in the oven before you set it to preheat, then by the time your pie is ready to bake, your cookie sheet is preheated and it will help cook the bottom of the pie, which is the hardest part for the oven heat to reach. Make sure before hand that your cookie sheet is large enough to accommodate the pie plate (I use a rimless sheet like this one).
To add decorative finishes to your pie before baking
- Cookie cutters that you can use to punch out decorative elements for the top pie crust. A mixed set like this one on Amazon is very versatile both for pies and also for making cookies, especially window cookies like these grapefruit coconut cookies or these jam-filled shortbread cookies.
- Pie crust cutters, like a giant cookie cutter but for the top crust of a pie, like the cutters from Nordic Ware on Amazon, which I used for this maple apple pie.
- Multi-cutter for lattice work or crinkled lattice work—the cutter can be adjustable like this one on Amazon
- Elaborate rolling cutter for more intricate patterns like this one on Amazon.
Steps to make the dough
Mise-en-place: weigh out all your ingredients and gather your tools
Before you get started making your pie dough, like with any recipe, it’s important to gather all your ingredients, measure them out, and get out all the tools you need. This way, you know before you start if you are missing something so that you can adjust your strategy (or go to the store, if need be). Professionals call this “mise-en-place”.
To measure baking ingredients, I prefer to use a kitchen scale (like this scale from OXO) to weigh out the ingredients, but measuring cups work fine too.
Cut the butter into the flour
The first step to make any pie dough is to combine the butter and the flour in a way to form a mixture that resembles a coarse crumble. To do this, you have options
- Use your fingertips and your hands: combine the dry ingredients in a big bowl with the cubes of butter and use your fingertips and the palms of your hands to work the butter into the flour until it resembles a coarse crumble.
- Use a pastry cutter: the pastry cutter allows you to slice through the butter, slowly working it into the flour, without warming it up too much like your hands would. This means more distinct pieces of butter and a more flaky crust.
- Use two knives: this works in the same way as the pastry cutter and you use two knives to cut through the butter surrounded with flour.
- Use a food processor: this is the easiest method and using the “pulse” button, you combine the butter with the dry ingredients. In all cases the results are the same, but with the food processor, there’s a risk you over-process the butter and flour which will lead to a more granular texture pie crust than a flaky pie crust. That’s okay too!
- Use a stand mixer fitted with the paddle attachment: this is another super easy method to form a crumbly mixture.
Add the water
The second step to make pie dough is to add water to the coarse crumble mixture of flour and butter. The goal is to hydrate the flour, which will help bind the ingredients together. Many pastry chefs recommend using as little water as possible, but this causes the dough to crack as it rolls and makes it very delicate. I prefer to use a little more water than some do because this resulting pie dough is easier to handle and rolls out beautifully.
To incorporate the water, you can use the following tools:
- a fork or a special pastry fork: if you started your dough in a bowl with your hands or a pastry cutter, at this stage, you’ll want to switch to a fork to incorporate the water. You may also want to use your hands towards the end to help shape the mixture into disks of dough before wrapping in plastic wrap and chilling. You can use any fork you have, but a “blending fork” like this one on Amazon is a little larger and designed for this task.
- the food processor or stand mixer: if you started your dough in the food processor, or in your stand mixer, then you might as well finish it there too. It’s so easy! Again, pulsing as you add the water to the machine, via the feeding tube at the top, is the easiest way with a food processor. I pulse the dough until it forms a ball. Then you can easily shape the dough into a disk (or two for double crust recipes) before wrapping in plastic wrap and chilling. Do the same in the mixer, mixing just until the dough comes together. Don’t knead the dough!
Pie crust goals
Creating a more flaky pie crust
The flaky layers that form as your pie bakes come from thin layers of butter by dough. As the dough bakes, that butter melts and the water in the butter turns to steam, opening up the layers of dough.
You can create extra flaky layers if you roll and fold the dough a few times, as you would do for homemade croissants or puff pastry.
A crust that holds cut-out shapes well
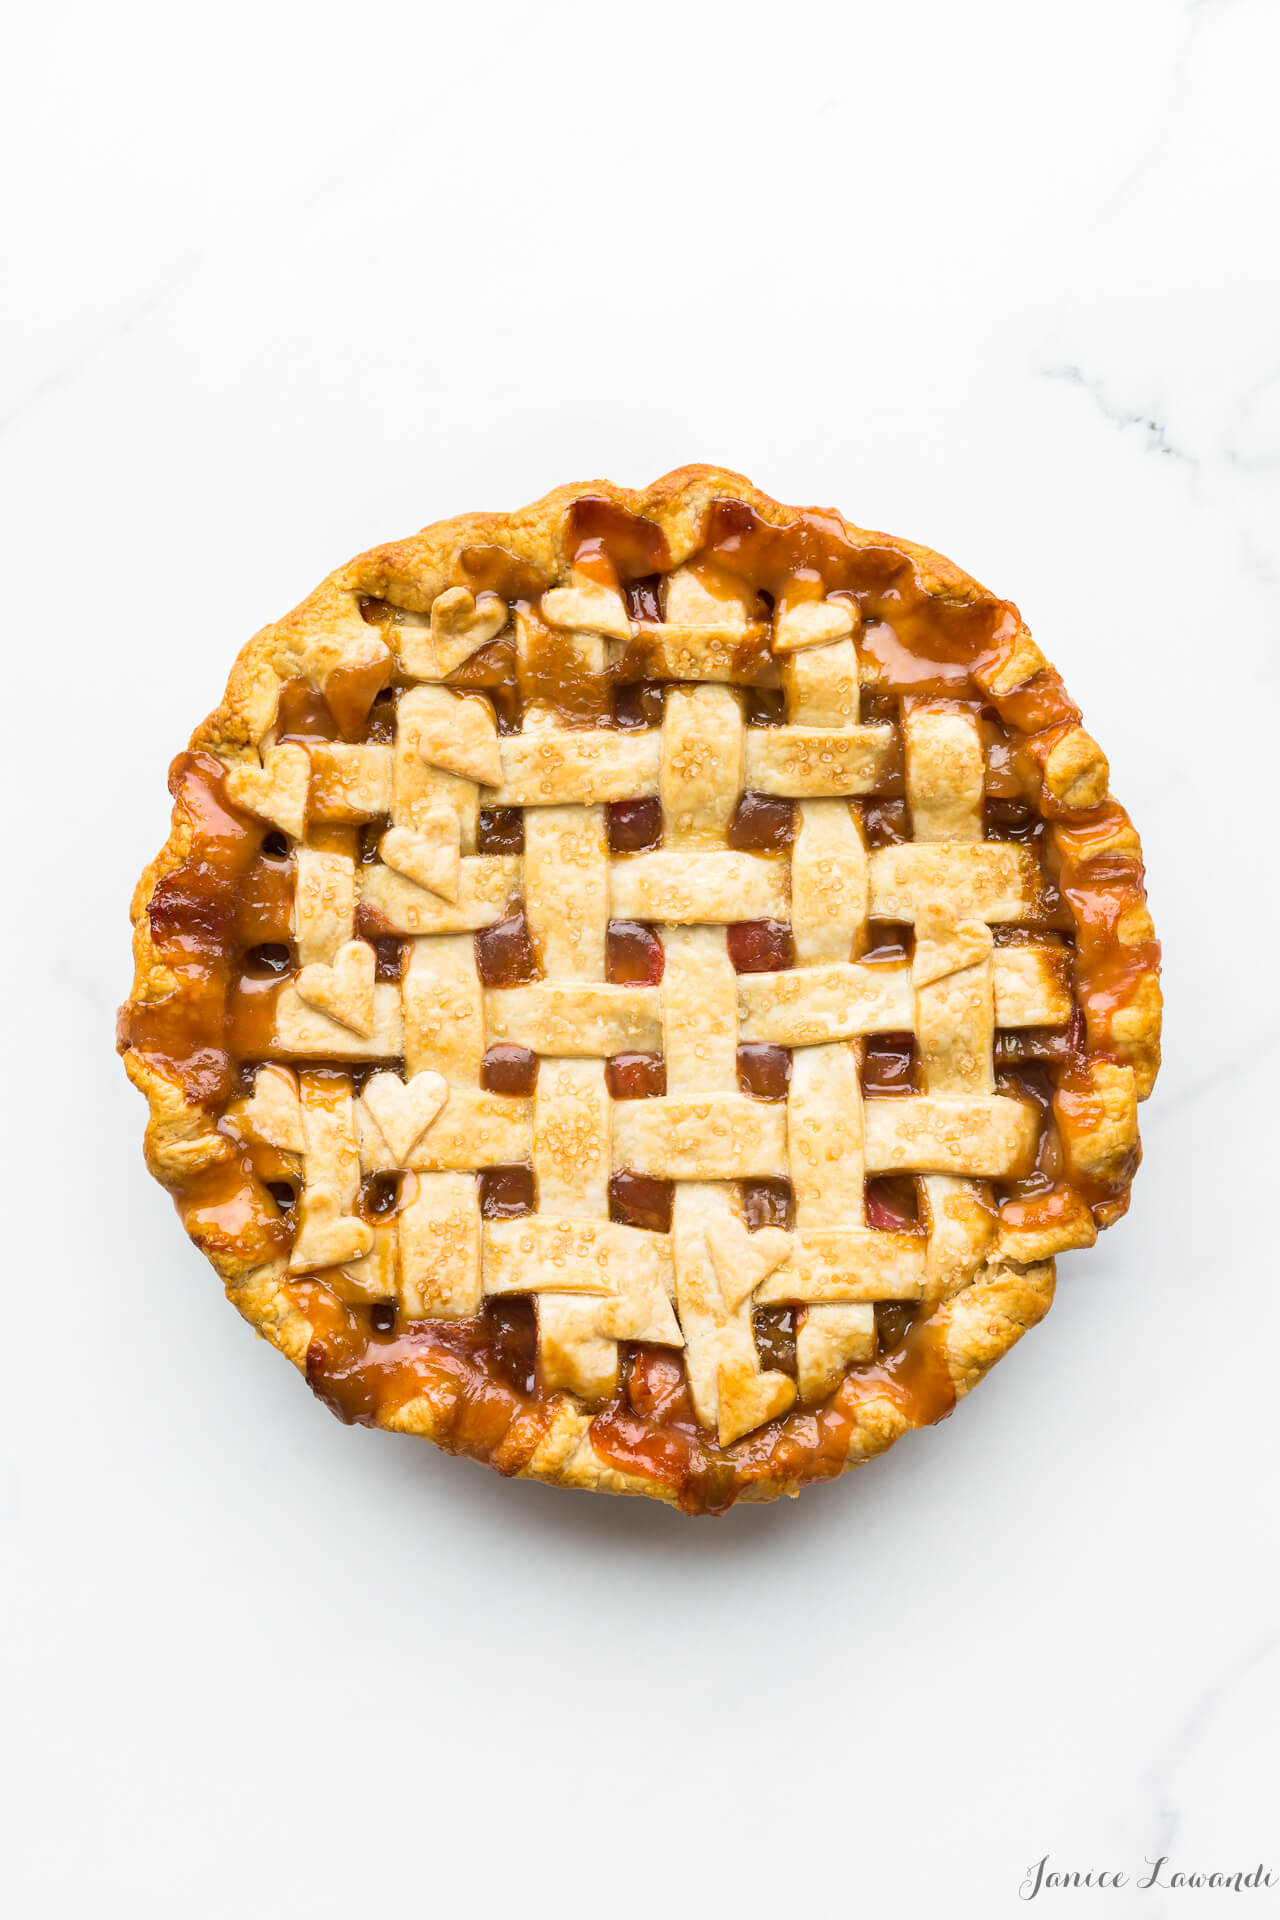
For pies with intricate designs, you want to use a pie dough that holds shapes well, especially cut-out shapes. I find in general, this type of pie dough is easier to work with. It is a little less flaky than some, but you have to compromise if you want to make a pie that holds its crimped edge well and holds the cut-out shapes.
To do so, I actually “over-process” the dough. I work the ingredients together a little more so that the butter pieces are smaller, the size of coarse sand or very tiny pebbles (really very small pebbles). This way, when the butter melts, it doesn’t have an impact on the shapes you’ve worked so hard to create.
Another trick is to freeze the pie briefly before baking. Even just 15 minutes in the freezer before popping the pie into the oven will slow the melting of the butter just enough that the outer layer of the pie shapes will set and dry out before the butter has time to melt.
Make ahead tips for pies and doughs
Freeze pie dough for later
The great thing about pie dough is that you can make it ahead of time and freeze it. If you’re making a pie already and you’ve got the food processor out to make batch of dough, you might as well make a second batch of pie dough to store in the freezer. You can do this in the food processor you’ve already dirtied making the first batch.
Wrap it well
The most important thing to do, when freezing anything, is to make sure to wrap it well. To freeze single crust pie dough, once you’ve made the dough, gather the dough into a ball and pat it out into a disk (about 1/2 inch to 1 inch thick). Wrap the disk of dough tightly in plastic wrap, and for longer storage in the freezer, cover the plastic-wrapped dough in a layer of aluminum foil, tightly. Make sure to label the wrapped dough with the date you made it and don’t forget to write what it is (i.e. “pie dough for single crust pie” or whatever labelling is clear for you).
For a double crust, divide the freshly made dough in two equal pieces and pat each piece into a disk of about 1/2 inch to 1 inch thick. Again, wrap the disks of dough separately, tightly in plastic wrap, and for longer storage, you can cover the two individually-wrapped disks in a layer of aluminum foil over the plastic wrap. By wrapping the disks together, you won’t lose track of them in the freezer and they won’t get separated. Make sure to label with the date you made the dough and don’t forget to write what it is (i.e. “pie dough for double crust pie” or whatever labelling is clear for you).
Pie dough can be frozen for up to 3 months. Sure, I’ve been known to freeze it for longer, but according to most reputable, professional bakers, 3 months is the recommended limit.
Defrosting pie dough
When it’s time to make a pie with frozen dough, make sure to defrost the dough in advance by placing it in the refrigerator the day before so that it defrosts but remains cold. Then when you want to roll it out, if it’s too hard to roll, let the dough warm for about 20 minutes on the counter at room temperature to soften the butter just enough to roll it out, but not so much that it’s soft and hard to work with.
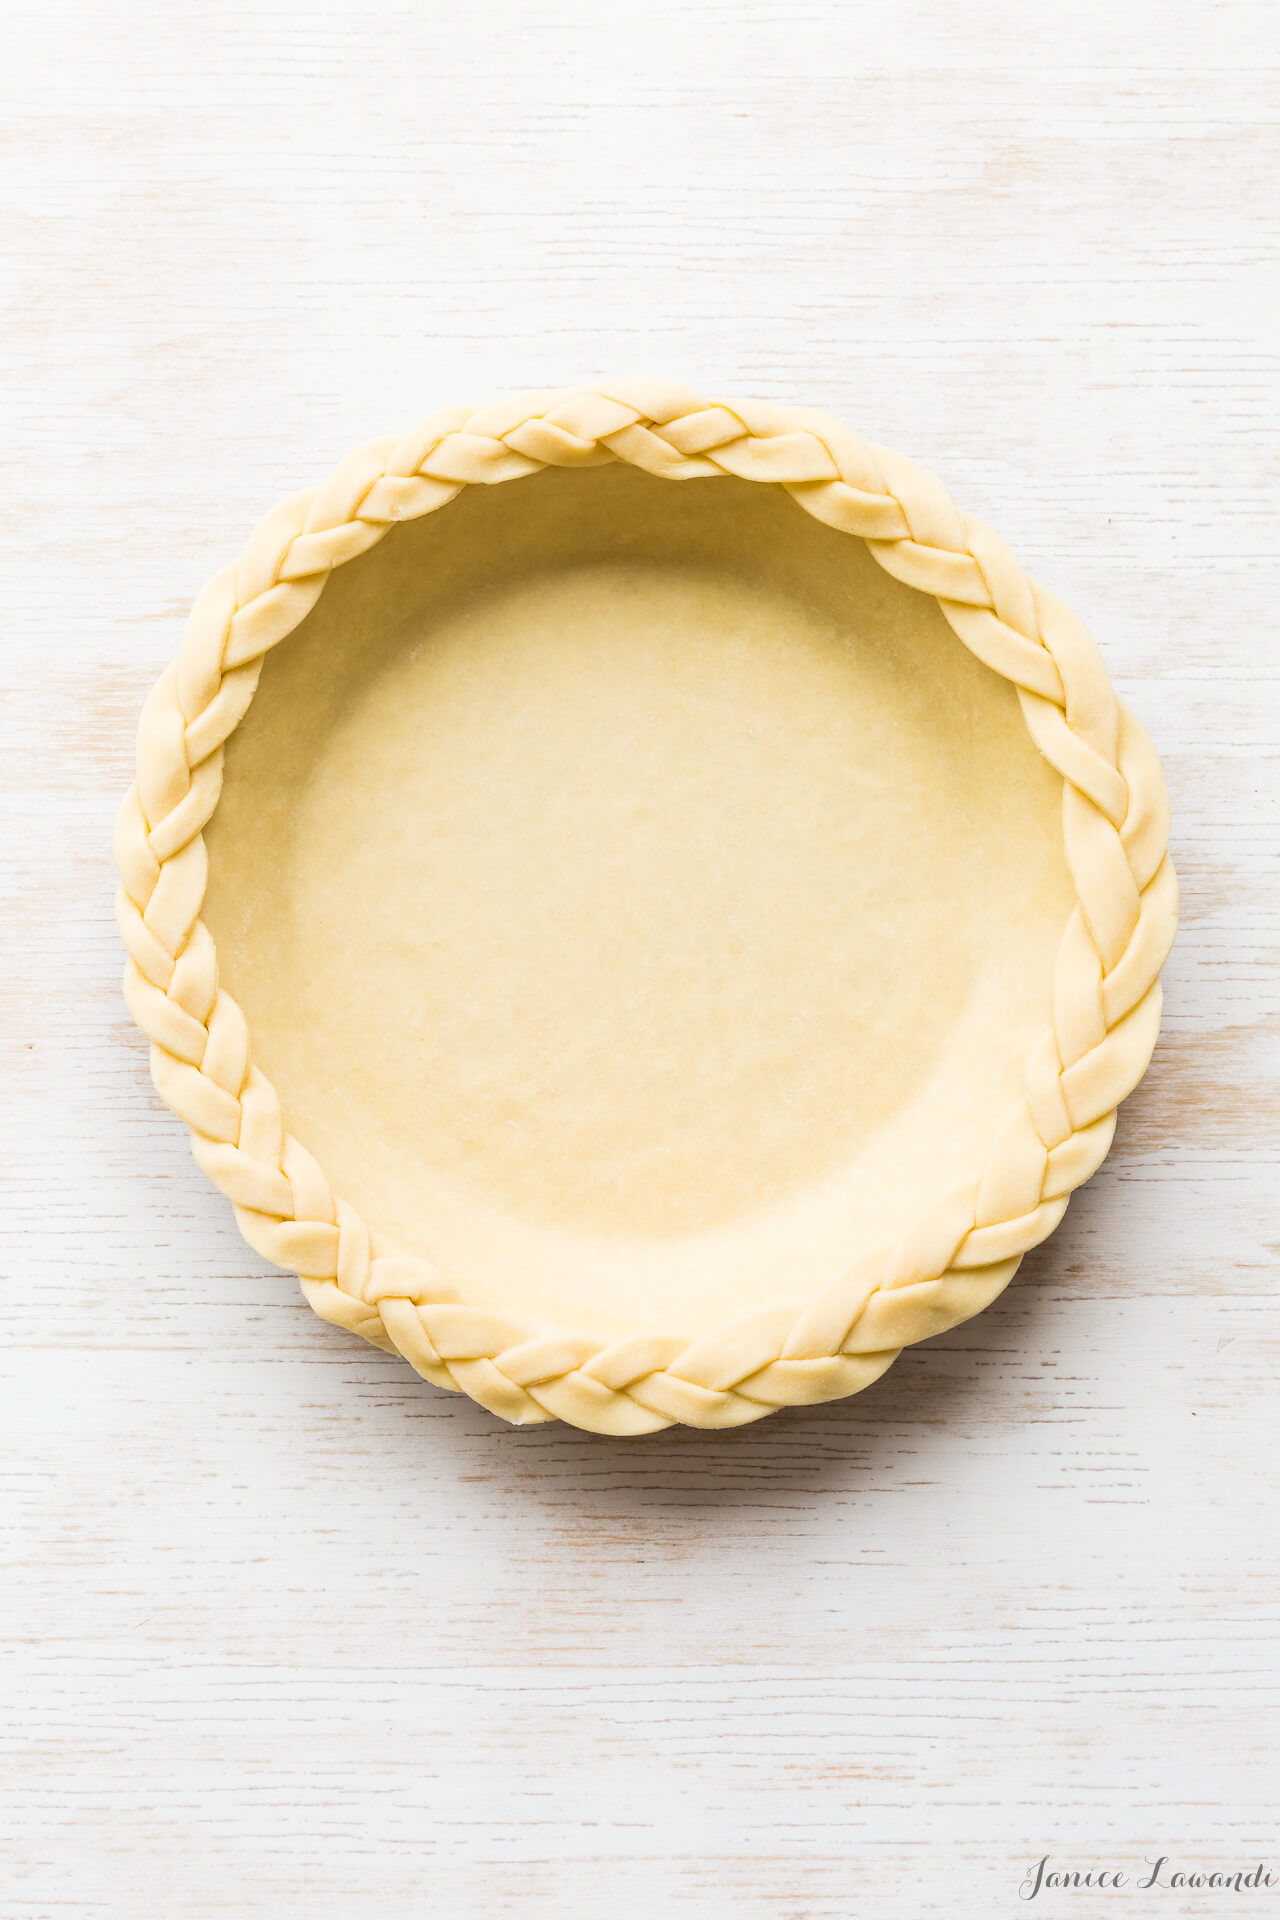
Common problems when making pie dough and baking pie
Pies and tarts are made from very simple ingredients and so few, but often times, the simpler the ingredient list, the more things can go wrong! Here’s a run down of what can go wrong and what to do differently next time.
Butter leaking out of pie crust
This has happened to me more times than I care to admit: I think I’ve made the best pie dough and I think it’s going to make a super tender, flaky pie crust when baked, but then I put the pie in the oven, and the butter melts out of the dough. This always happens when I haven’t set a pie sheet below the pie to catch the drips, and so it leads to a VERY smoky, dangerous situation in the oven where the butter has dripped onto the floor of the hot oven and burns. Frustrating!
After years and years of trying to figure out what I do wrong on those days, a batch of butter biscuits gave me the answer, go figure: if the pieces of butter that you have cut into the flour are too large, and when you roll out the dough, if those large pieces of butter are too close to the surface of the dough, the butter leaks out of the dough. Duh!
We tend to underwork doughs in general because we are trying to avoid making tough pie crusts that shrink when baked, but actually, if we don’t incorporate the butter properly from the first steps of making pie dough, the butter will probably leak out of the crust as it bakes. The crust may end up flaky, yes, but it will also have lost a lot of fat during the baking, which isn’t ideal. It’s a waste! We aren’t baking with butter to have it burn on the floors of our ovens!
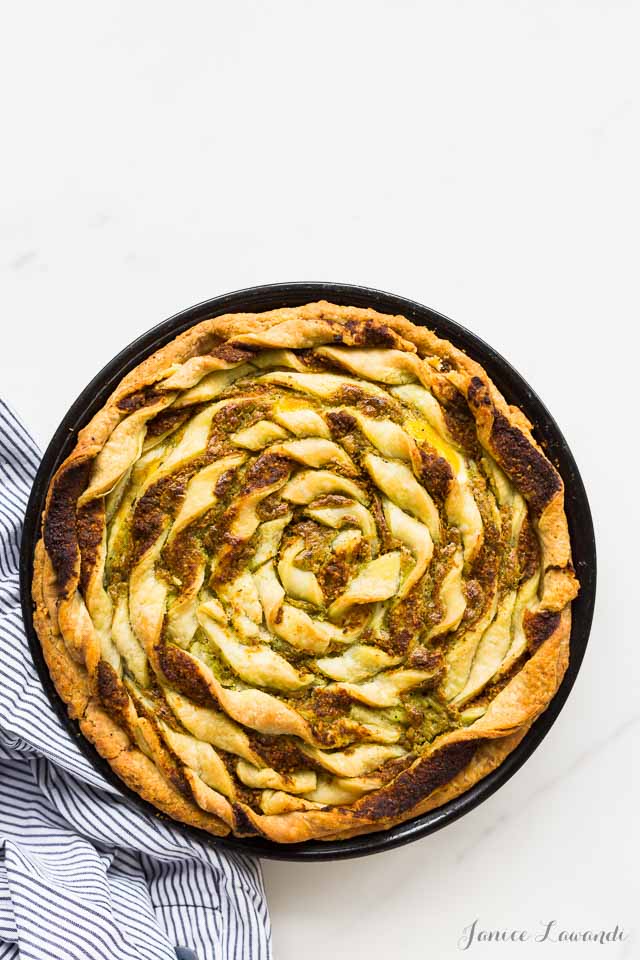
Shrinking pie crust
I think the number 1 problem people encounter when baking pies that require blind baking is that the crust shrinks back or collapses during this first stage of baking. There are several reasons why this happens:
- you may have overworked the dough, developing gluten and rendering the dough a little too elastic. We do need a little bit of gluten to bind the dough together, but too much gluten will lead to a certain amount of elasticity and when you roll it out, it will inevitably retract.
- you tried to stretch the dough to fit the pan, leading to air pockets between the pan and the dough because there simply isn’t enough dough to fit the pan: when the dough is transferred to the pie plate, instead of rolling it out larger than the pie plate, you pulled it to make the disk of dough fit the plate. As the dough heats up, the dough becomes more pliable and shrinks down to fill those corners, causing the pie crust to recede.
Of course, pie dough will shrink as it bakes. A certain amount of loss is normal as water evaporates and butter melts because the basic ingredients are transformed in the oven. The pie will shift to a certain extent, but the change is small. If you are baking a pie, blind-baking a single pie crust or a tart shell and you notice your pie dough has receded, most of the time, this means your technique of lining the pan with the rolled out dough needs adjusting. In French, this step is called “fonçage.” When you are transferring the rolled out pie dough to the pan, here’s what you should NEVER do:
- never pull or stretch the dough to fit the pan: that pulling and stretching will inevitably shrink back at some point, furthermore, if you’ve pulled the dough taught to stretch the dough to fill the edges, you most certainly have air pockets underneath, in the bottom corners of the pan. As the butter melts, your dough will shrink as it bakes to settle into those gaps. Your dough may have a collapsed or fallen appearance because of this. NEVER pull or stretch pie dough. If your dough doesn’t seem to fit the pie plate you are using, change courses: use a smaller pan or make a galette, like this apple galette or these easy raspberry galettes.
I tend to make a little more dough than I need for my pies. This does leave you with a little leftover, but I’d rather have a small amount of extra dough than not enough when I’m making a pie. Use the leftover dough to make a mini pie or a mini galette.
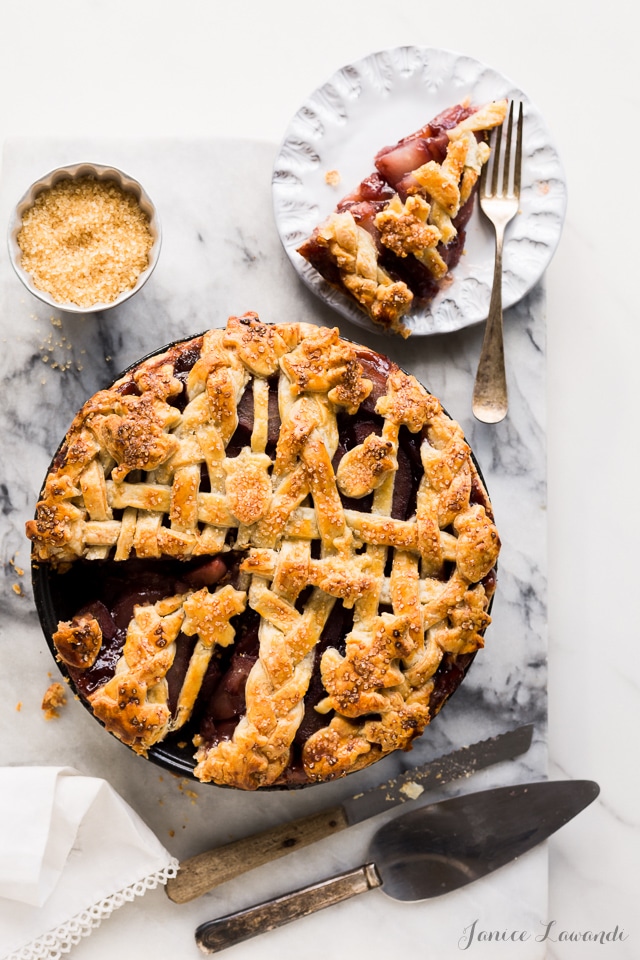
Pie dough too delicate to handle
If you find your dough is too delicate, it probably needed more water.
Also pie doughs that are high in butter can be more delicate and “short” meaning high in fat, which means less gluten, which is both a good thing and a bad thing because gluten provides a little strength to pie dough, making it easier to manipulate and use.
Pie dough is too dry and cracks as you roll it
If you find your pie dough is cracking too much as you are trying to roll it out, it’s probably either too cold, or it doesn’t have enough water in it, which leads to cracking.
A lot of people are afraid to add water when they make their pie dough, but not enough pie dough can mean the dough will be too dry and too delicate. You need water to glue the dough together. Don’t drown your dough in water, but don’t add so little that it falls apart.
Pie dough is too wet
If you were a little generous with the water, your dough will be tacky or sticky, or damp. Make sure to roll it out with enough flour to balance out that water. Your dough may end up a little more firm and crispy/cracker-like when baked. It may shrink more as the water evaporates.
Use less water next time: you want to use enough that the dough can hold its shape when squeezed together, but not so much that the dough becomes gluey or gummy.
Pie dough is too elastic to roll
If you have kneaded the dough when you were making it, or if you overworked the dough in any way, chances are gluten has developed in the dough. Gluten is a network of proteins that forms in the presence of water and with some kneading. Next time, don’t work the pie dough as much, and certainly don’t knead it! This time, try chilling the dough for more time or letting the dough rest. This will help relax the gluten enough to roll it out.
Note that if you have a pie dough that is elastic, it will probably shrink as the pie bakes. This can be a problem if you are blind baking and the dough shrinks so much that the sides end up shorter.
Pie crust is raw, under-baked or gooey on the bottom
There is nothing worse than a pie crust that is raw on the bottom. There are a few steps you can take to ensure that your pies are properly baked, even on the bottom:
- use a metal pie plate, preferably made of aluminum and with a darker finish
- use a pie plate with holes—the holes allow hot air to circulate on the bottom
- bake your pies on the bottom of the oven or the bottom rack
- preheat a baking steel or pizza stone on the bottom rack of your oven and place your pies directly on these to bake.
Pie crust is burned or over-baked
In the grand scheme of things, I’d rather have a pie crust that’s over-baked than a pie crust that’s under-baked. The truth is that it is extremely hard to get a pie to cook through to the middle without having the edges brown excessively. In order to achieve the perfect bake, you may have to wrap the edges with foil to protect them and insulate the edges from the heat so that they don’t burn. Another option is to invest in a reusable pie shield on Amazon, which you can place around the edge of the pie to guard it from the heat. Pie shields can be made of silicone which is a poor heat conductor so the silicone shield protects the edges of the pie and stops them from heating up so quickly.
Pie crust doesn’t hold crimping or elaborate cut-outs
If you want to do any elaborate shaping, crimping, or pie designs on your top crust, it’s important to chill the pie very well before baking. Chilling cools the butter down significantly and cold butter is takes longer to melt in the oven. The delayed melting means that the crust has a chance to set before the butter melts. If the butter melts before the crust sets, the pie will lose its shape and any imprints or details. Always chill your pies thoroughly before baking.
Another step to ensure your pie crusts hold their shape must be taken when making the dough: work the butter into the flour more before adding the cold water. This will create a more sandy, less flaky pie crust, which is perfect for holding cut shapes and imprints.
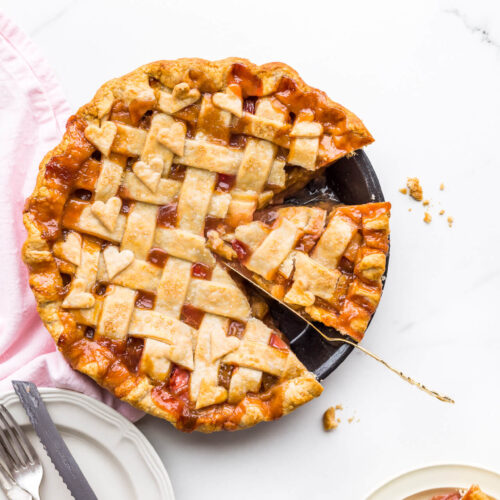
Easy dough for all-butter pie crust made in food processor
Equipment
- OXO scale
- Food processor
- metal pie plate
- Pastry cutter
Ingredients
- 312 grams all-purpose flour
- 15 mL granulated sugar
- 5 mL fine kosher salt
- 173 grams unsalted butter cut into cubes, very cold
- 100 mL water
Instructions
- In the bowl of a food processor fitted with the metal blade, combine the flour, sugar, and salt. Add the cold butter and pulse to form a coarse crumble. Add the water and pulse it in, then let the food processor run just until the dough comes together. I bought my Cuisinart Food Processor on Amazon.
- Divide the dough in two and transfer both pieces to your work surface. Shape each piece into a disk. Wrap both in plastic wrap and chill for 1 hour.
Video
Nutrition
The post How to make the easiest, best all butter pie crust appeared first on Kitchen Heals Soul.


